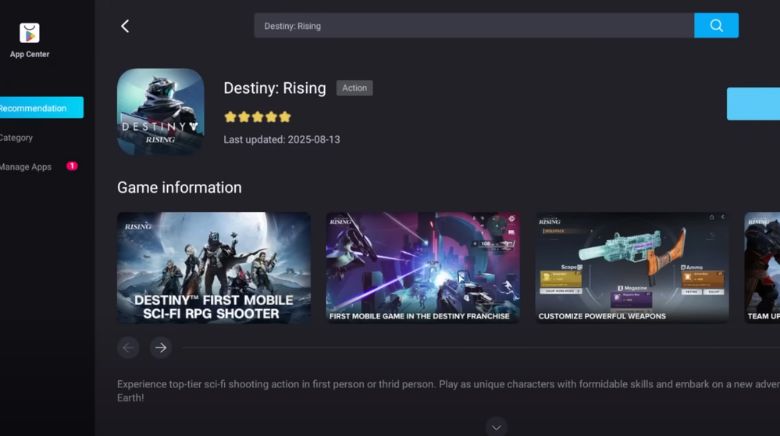
Want to enjoy Destiny: Rising with maximum stability and high graphics on PC? This step-by-step guide will walk you through setting up any modern Android emulator (MuMu, BlueStacks, LDPlayer, etc.) to run the game smoothly, from system checks to fine-tuned settings.
Step 1: Check System Requirements
Before you install anything, make sure your PC can handle an emulator and Destiny: Rising.
| Component | Minimum | Recommended |
|---|---|---|
| OS | Windows 7 or higher | Windows 10/11 (64-bit) |
| CPU | Intel/AMD with VT support | Intel i5+ / Ryzen 5+ |
| RAM | 4 GB | 16 GB |
| Storage | 20 GB free space | 50 GB+ SSD |
| GPU | DX11/OpenGL 4.x compatible | GTX 1660+ / RX 5600 XT+ |
Tip: An SSD and a dedicated GPU make a huge difference for Destiny: Rising’s performance and load times.
Step 2: Enable Virtualization Technology (VT)
Android emulators require VT (Virtualization) for smooth multitasking and stable gameplay.
How to Enable VT:
- Restart your PC.
- Press DEL, F2, or F12 during startup to enter BIOS/UEFI.
- Locate Virtualization Technology (may appear as Intel VT-x, AMD-V, or SVM Mode).
- Set it to Enabled.
- Save and reboot.
Skipping this step may cause emulator lag or crashes.
Step 3: Install and Launch Emulator
Choose your favorite Android emulator that supports:
- Android 9 or higher
- Vulkan or DirectX rendering
- Multi-instance and custom hardware allocation
Once installed, launch the emulator and open the Instance Manager if available.
Step 4: Optimize Emulator Settings for Destiny: Rising
These adjustments ensure Destiny: Rising runs at high FPS with no stutter or overheating.
Performance Tab
| Setting | Low-End PC | Mid-Range PC | High-End PC |
|---|---|---|---|
| Graphics Renderer | DirectX | Vulkan | Vulkan |
| CPU Cores | 2 cores | 4 cores | 6+ cores |
| RAM Allocation | 2–3 GB | 4–6 GB | 8 GB+ |
| Dedicated GPU Use | Enabled | Enabled | Enabled |
| Smart Memory Opt. | Off | Off | Off |
Important: Don’t allocate more than half of your available CPU cores or RAM.
Display Tab
| Setting | Value Range |
|---|---|
| Resolution | 1280×720 to 2560×1440 depending on setup |
| DPI | Start with 160–240. Increase if UI looks blurry |
| FPS | 60 FPS (standard), up to 120 FPS (for smoother input) |
Destiny: Rising caps at 120 FPS, so no need to go higher.
Device Model Tab (Optional)
- Brand: Samsung
- Model: Galaxy S25 Ultra
- Preset GPU: Adreno 740
This setting unlocks higher graphics options in-game, though it doesn’t boost FPS directly.
Step 5: Launch & Configure Destiny: Rising
- Once installed, launch Destiny: Rising inside the emulator.
- The game should auto-detect keyboard and mouse input.
- Keybinds and HUD will adapt accordingly.
- Go into Settings → Graphics, and crank them up based on your system specs.
Tip: Match the in-game FPS setting to your monitor’s refresh rate for smoother feel.
Best Experience
- Keep drivers updated (especially GPU).
- Disable background apps while playing.
- Avoid using sticky overlays or chat widgets—they can block AdSense side rails or cause FPS drops.
- Play in borderless window mode if your emulator supports it.

