If you’ve been grinding through Inkshade and wondering why some units seem to drop more often than others, you’re not imagining things. Every combat encounter has its own rewards table with different unit probabilities. Understanding these drop rates helps you target the maps where rare or powerful recruits are most likely to appear.
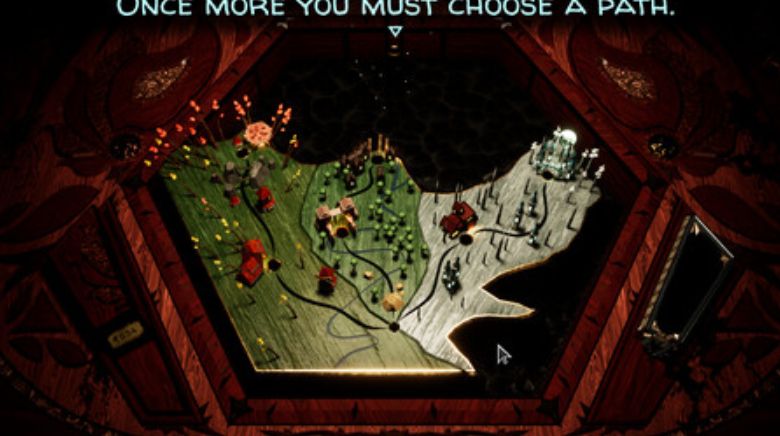
In this guide, I’ll break down Inkshade unit drop rates for every map, organized by region (West, North, East, and the Abyss).
How Drops Work
Each combat map has a set of units tied to its reward chest, along with specific percentages. These maps appear at certain nodes in a region path (e.g., “nodes 2–4” means that combat can show up when you’re 2 to 4 steps deep into the map).
The deeper you go, the higher the chance of encountering stronger units or rarer recruits. Boss maps (node 10) almost always carry special drops.
West Region Drop Rates
West 1 (Early Western Region)
- Map 001 – Best for farming Acolytes (91%) with solid chances at Knifethrowers and Occultists.
- Map 004 – Excellent for Longstep farming (65%).
- Map 005 – First chance at Nightslingers (80%).
- Map 010 (Boss) – Chance at the Executioner (9%), alongside high Punisher drops.
Takeaway: West 1 is where you stockpile basics like Acolytes and Knifethrowers. If you want an Executioner, you’ll need to push to node 10.
West 2 (Late Western Region)
- Map 011 – Nearly guaranteed Voidcaller (99%).
- Map 014 – Almost certain Arbiter (99%).
- Map 015–016 – Your main sources of Flammenmancers (88–99%).
- Map 020 (Boss) – Mix of late-game units, plus the Wireweaver (10%).
Takeaway: West 2 is Voidcaller and Flammenmancer territory. Arbiter is practically free if you hit Map 014.
North Region Drop Rates
North 1 (Caves & Villages)
- Map 201–204 – Great for Illuminaries and Mortuum.
- Map 205–206 – Lycanthrope farming hotspot (75–98%).
- Map 210 (Boss) – Chance at Farshot (12%).
Takeaway: Early North is Lycanthrope land. Push to node 10 if you’re aiming for Farshot.
North 2 (Skies & Graveyards)
- Map 211 – Almost guaranteed Skyshot (99%).
- Map 213 – 99% chance of Corvusier.
- Map 217 – Near-certain Mortuum (99%).
- Map 220 (Boss) – The only place to get the Captain (11%).
Takeaway: North 2 introduces strong ranged units like Skyshot and Corvusier. Don’t miss Map 220 if you want the Captain.
East Region Drop Rates
East 1 (Snowy Lands & Fortresses)
- Map 101 – Easy Squire farm (92%) plus Archers.
- Map 107 – Guaranteed Scholars (99%).
- Map 110 (Boss) – Chance at the Knight (11%).
Takeaway: East 1 is your Scholar farm. Knight only appears at the boss node.
East 2 (Towers & Castles)
- Map 111 – Almost guaranteed Starseer (99%).
- Map 113 – 98% chance of Sorcerer.
- Map 115 – Nearly guaranteed Rider (99%).
- Map 120 (Boss) – Drops Monarch (11%) and other elites.
Takeaway: East 2 is stacked with late-game powerhouses: Starseer, Sorcerer, Rider, Guardian, and Monarch.
Abyss Maps (Special Encounters)
These don’t follow normal node rules — they’re unique mutiny and abyss events.
- Map 227 – Guaranteed Wretch (99%), with chances for Arbiter, Saletist, and Lycanthrope.
- Map 228 – Wretch again, plus Executioner, Knight, and Farshot.
- Map 229 – Wretch, with chances for Wireweaver, Captain, Monarch.
- Map 230 – 100% Wretch and 100% Captain.
Takeaway: The Abyss is where you’ll secure Wretch and repeat shots at Captain/Monarch/Wireweaver. High-risk, high-reward zone.
- Farm West early for Acolytes, Punishers, and Executioners.
- North gives Lycanthropes, Skyshots, and eventually the Captain.
- East unlocks late-game elites like Sorcerer, Rider, and Monarch.
- Abyss maps are your shot at Wretch and multiple end-game units.
If you want to optimize your crew, plan your pathing around the maps with the units you’re missing. Chasing rare elites like Monarch, Captain, or Executioner means committing to boss fights — so prepare your squad before diving in.

